 This is the original image that was captured before the green screen was removed.
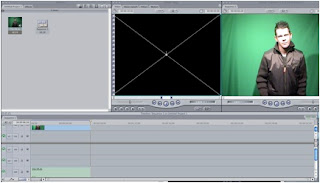
This is a screengrab of the full final cut set up with the original image in place. You can see each area and what each area is used for.

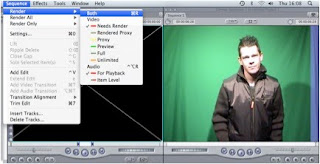
On this screengrab you can how the image is put in place within the video. After everytime you do something new to the video you have to render it for it to work. As you can see to render the video you simply click on 'sequence' then on 'render' then on 'both'.

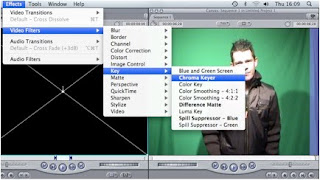
This screengrab shows the steps taken to remove the green from the green screen background in order to place a new background behind the original image. You simply click on 'effects' then on 'video filters' then on 'key' then on 'chroma key' in order to do this. You will then be given a colour palette in which you have to move up and down in order to remove the green. You keep moving each section of the colour pallette until all of the green has disappeared.

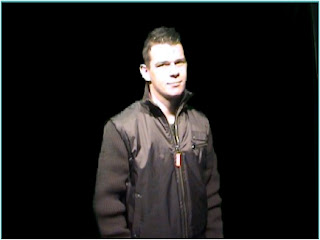
This is a screengrab of what I was left with after removing the greenscreen background. You can see just the original image in the centre of the screengrab and this image is now ready to be put with a new background, a sound or with another image to create a video.
No comments:
Post a Comment